Building a Simple Oak Coffee Table
Building a coffee table from oak lumber is a rewarding project that combines practical woodworking skills with the natural beauty of a durable hardwood. This guide outlines the process of constructing a simple, sturdy oak coffee table from rough lumber, covering essential steps from initial cutting to final finishing. The project described here prioritizes clarity and repeatability, making it suitable for woodworkers with intermediate experience.
The approach focuses on using basic tools and straightforward joinery to create a table that is both functional and aesthetically pleasing. While many variations exist, the methods presented here emphasize precision in measurement and assembly, ensuring a stable and long-lasting piece. By following these steps, you can produce a coffee table that fits your space and style.
The project is structured around four main phases: preparing the lumber, cutting the components, assembling the table, and applying a finish. Each phase requires attention to detail and a methodical approach. The following sections elaborate on these stages, providing practical tips and considerations along the way.
Preparing the Lumber
Before any cutting begins, the oak lumber must be properly dried and acclimated. Rough lumber typically has a moisture content higher than that of indoor environments, so it is advisable to let the boards sit in the workspace for several days. This allows the wood to adjust to the ambient humidity and reduces the risk of warping or cracking after the table is assembled.
Once the lumber has stabilized, inspect each board for defects such as cracks, knots, or wane. For a coffee table, it is important to select pieces that are relatively free of large knots or splits, as these can compromise the structural integrity and appearance. Mill the boards to the required thickness, which is often around 20 to 25 millimeters for a tabletop and legs, depending on the design.
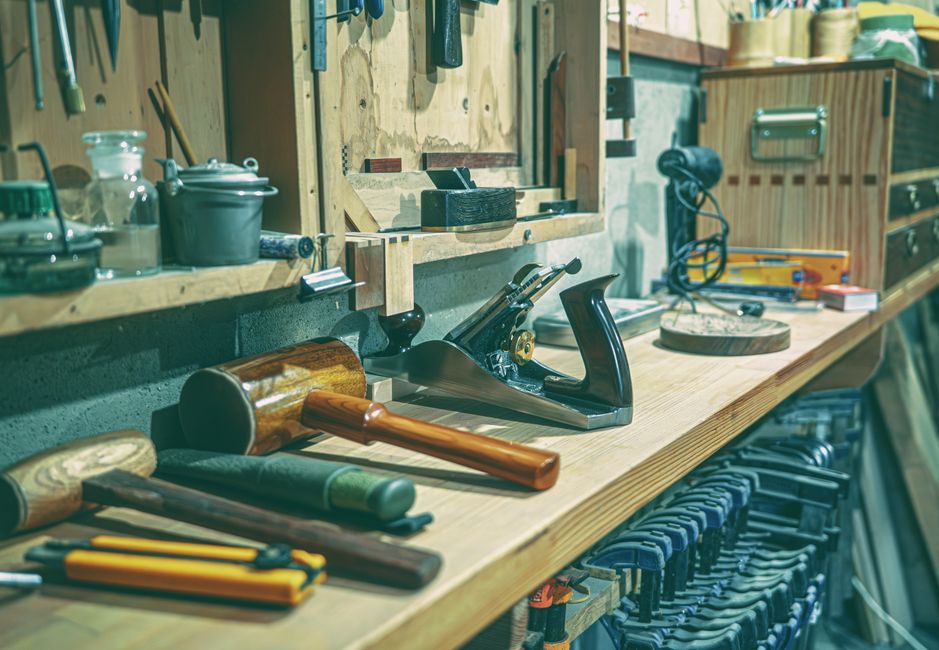
After milling, plane the surfaces to achieve a smooth, even finish. This step not only improves aesthetics but also ensures that glue joints will be tight and effective. If you do not own a jointer or planer, you can use a hand plane or a router with a straight bit, although this is more time-consuming. The goal is to have all surfaces flat and square before proceeding.
Finally, cut the boards to rough lengths, leaving a little extra material for trimming later. This helps avoid any issues with splitting when making precise cuts. Label each piece according to its intended use, such as tabletop, legs, or aprons, to keep the process organized.
Cutting the Components to Size
With the lumber prepared, the next step is to cut all components to their final dimensions. A table saw or a circular saw with a guide is ideal for making accurate cuts. Begin with the tabletop, which is typically the largest piece. If you plan to join boards edge-to-edge, you will need to rip them to width and then glue them together. Ensure that the edges are straight and square to create a seamless joint.
For the legs, you will need to cut four pieces to the desired height, usually between 400 and 450 millimeters for a coffee table. The legs can be tapered for a more elegant look, but a simple straight leg is easier for beginners. If you opt for tapered legs, mark the taper on each piece and use a band saw or a hand saw to remove the excess wood, then smooth the cuts with a plane or sander.
The aprons, which connect the legs and support the tabletop, are cut to length based on the table’s dimensions. Typically, the aprons are shorter than the tabletop by about 100 to 150 millimeters to allow for an overhang. The width of the apron can vary, but around 80 to 100 millimeters is common.
Once all pieces are cut, dry-fit them to ensure that all joints align correctly. This is also a good time to make any necessary adjustments. For added strength, you may consider reinforcing the joints with dowels or biscuits, which require additional drilling and alignment, but they are not strictly necessary if you use proper glue and clamping techniques.
Assembling the Table
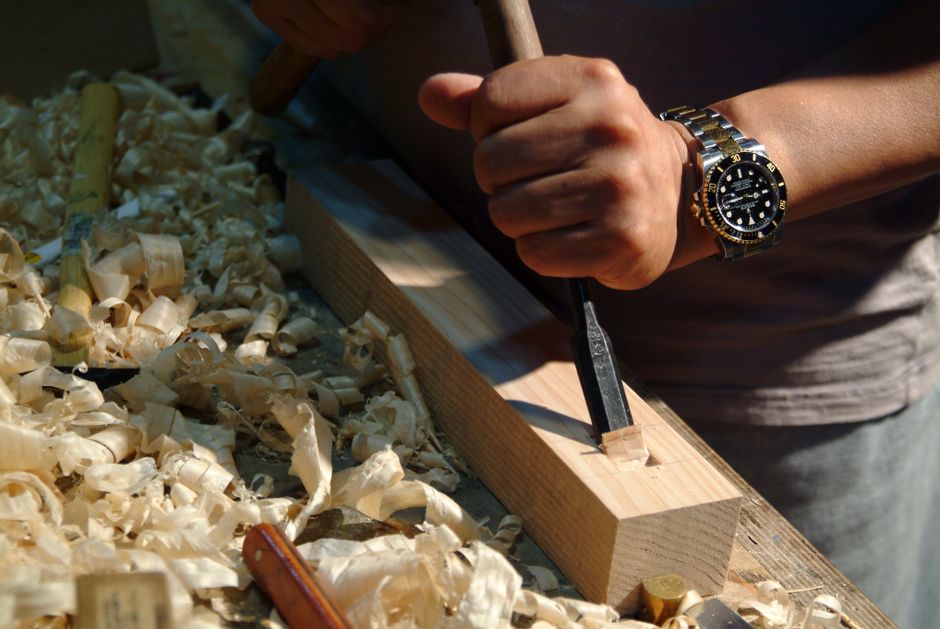
Assembly begins with the base of the table. Join the aprons to the legs using a suitable joint, such as pocket holes, mortise and tenon, or dowel joints. For a simple project, pocket holes are often the most accessible method, as they require only a pocket hole jig and screws. Ensure that the alignment is correct and that the joints are square.
After assembling the base, check that it is level and that all angles are 90 degrees. Use wood glue in addition to screws or joinery for added strength. Wipe away any excess glue immediately with a damp cloth, as dried glue can affect the finish. Once the base is assembled and the glue has dried, you can attach the tabletop.
Attach the tabletop using either screws from below or metal brackets that allow for wood movement. Since oak is a hardwood, it is important to accommodate seasonal expansion and contraction. Using elongated holes or specialized tabletop fasteners can prevent cracking due to movement. Place the fasteners at regular intervals along the aprons, and insert screws into the underside of the tabletop.
Allow the glue to cure fully before applying any finish. Depending on the temperature and humidity, this may take several hours or overnight. Once the glue is dry, inspect the table for any gaps or misalignments and correct them as needed. Sanding the entire table with progressively finer grits of sandpaper will help smooth out any imperfections and prepare the surface for finishing.
Finishing the Table
Finishing oak is a crucial step that enhances its natural grain and protects the wood from moisture and wear. Before applying any finish, ensure that the surface is thoroughly sanded and free of dust. A tack cloth can be used to remove any residual particles. The choice of finish is a matter of personal preference, but common options include oil-based polyurethane, Danish oil, or wax.
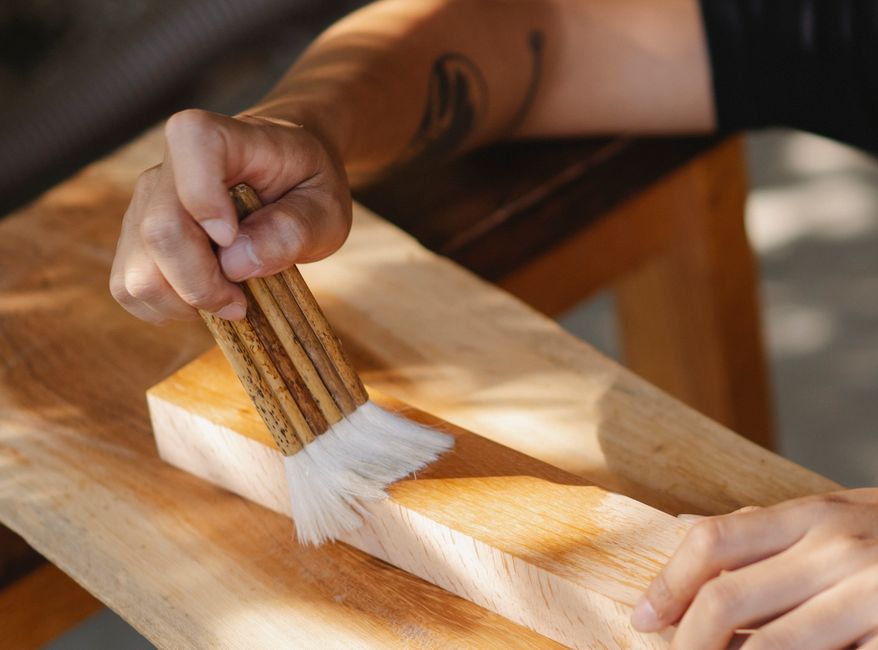
Oil-based finishes penetrate the wood and bring out the depth of the grain. Danish oil is a popular choice for furniture because it provides a satin finish and is relatively easy to apply. Apply the oil with a clean cloth, working in the direction of the grain. Allow it to absorb for the time specified by the manufacturer, then wipe off any excess. Multiple coats may be necessary to achieve the desired sheen.
If you prefer a more durable finish, polyurethane offers a protective layer that resists scratches and heat. Apply thin coats with a brush, allowing each coat to dry completely. Sand lightly between coats with fine sandpaper to remove any bubbles or dust. This builds up a durable surface that is ideal for a coffee table, which sees frequent use.
The final step is to let the finish cure completely, which can take several days depending on the product. Once cured, the table is ready for use. Regular maintenance, such as using coasters and wiping up spills promptly, will help preserve the finish and keep the oak looking beautiful for years.